

There’s a special excitement in unboxing your first drone — and a special heartbreak in watching it drift into a tree thirty seconds later. I’ve seen both, and the difference rarely comes down to luck. This drone buying guide for beginners exists because first-time buyer mistakes are predictable: paying for camera specs they’ll never use, ignoring the weight rules that determine registration, and skipping the safety features that separate a fun afternoon from an expensive crash.
The drone market has matured enormously — a few hundred dollars now buys stabilization, obstacle sensing, and camera quality that cost thousands not long ago. But the options are confusing, the marketing aggressive, and the legal side genuinely matters in a way it doesn’t for most gadgets. This guide covers the camera, flight performance, safety features, weight rules, drone laws, and what to spend — so you know exactly which drone fits your goals and which mistakes to avoid.

What Do You Actually Want the Drone For?
Every good drone purchase starts with an honest answer, because “a drone” isn’t one product — it’s several, wearing similar plastic. The casual flyer wants something fun, forgiving, and cheap enough that a crash doesn’t ruin the month. The aspiring aerial photographer wants the best camera and stabilization the budget allows. The traveler wants something light and foldable for a daypack. The speed-seeker wants a racing or FPV (first-person view) drone — a fantastic hobby with its own gear and a much higher crash rate, but don’t buy one expecting a camera platform. Buying the wrong category is the most expensive beginner mistake.
Be specific about your first year, not your fantasies. Parks and vacation flying means a lightweight camera drone; even cinematic mountain dreams start there, since the skills transfer and the learning curve is kinder. Also consider who it’s for: a teenager needs durable, inexpensive, and simple with propeller guards; your own creative projects justify more camera and stabilization. Write your use case in one sentence before reading on — it makes every decision below easier.
Drone Buying Guide for Beginners: The Camera Question
For most beginners, the camera is the reason to buy — so let’s demystify what matters. Resolution numbers are the least useful part: nearly every modern camera drone shoots 4K, and real differences come down to sensor size, stabilization, and bitrate. A larger sensor captures more light — cleaner footage at dawn, dusk, and in shadows, when aerial footage looks most dramatic. If a manufacturer hides sensor size in the fine print, it usually isn’t impressive.
Stabilization matters more than resolution. A 3-axis mechanical gimbal — the stabilized mount the camera sits on — physically counteracts movement; it’s the difference between buttery footage and seasick video. Electronic stabilization alone can’t match it, especially in wind. If smooth video is your goal, a real gimbal is non-negotiable — check for it explicitly.
Other specs worth knowing: frame rates (60fps gives smooth slow motion; 30fps is standard), photo formats (RAW/DNG files offer far more editing flexibility than JPEG — and pair beautifully with AI photo enhancers for polishing aerial shots), and field of view. Zoom at beginner prices is usually digital, not optical — fine for framing, but it degrades quality, so don’t pay extra for big zoom numbers.
One honest note: stunning aerial photography comes mostly from piloting skill and editing, not sensor specs. Budget for learning, not just hardware — a mid-range drone flown well beats a flagship flown badly every time.
Flight Time, Range, and the Numbers That Matter
Manufacturers advertise 30-plus-minute flight times; mentally subtract about 20 percent. Real flight time depends on wind, temperature (cold drains batteries faster), and flying style — hovering in a breeze costs more than gentle cruising. Expect 20–25 practical minutes per battery, and know the drone warns you to return home well before empty. That warning is your friend, not a suggestion.
That’s why extra batteries are the highest-value accessory in droning. One battery ends your session just as you’re getting comfortable; two or three let you actually practice and reshoot. “Fly more” bundles — extra batteries, charging hub, case — are usually much cheaper than buying separately and almost always worth it for beginners.
Treat range numbers with equal skepticism. Advertised multi-kilometer ranges assume perfect conditions and direct line of sight — but regulations in most countries require visual line of sight anyway, a few hundred meters at most for a small drone. What matters is signal reliability: a strong, stable connection at 300 meters beats a flaky one that theoretically reaches further. Modern digital transmission holds a clean video feed far better than old analog, and it’s standard on reputable beginner drones.
Wind resistance is the underrated spec. Drones are rated for maximum wind speeds, and confident wind handling is the difference between flying on a breezy day and staying grounded. Heavier drones handle wind better than ultralights — one more trade-off if you’re eyeing a sub-250-gram model, covered next.
Safety Features That Save Beginner Drones
Here’s where modern drones earn their price: safety systems that turn beginner mistakes into non-events. Most important is GPS-assisted hovering — the drone holds position via satellite positioning, so when you release the sticks it stays put instead of drifting. Every reputable beginner drone has this. Comparing an ultra-cheap toy without GPS against a proper beginner drone with it? This feature alone justifies the price gap.
Return-to-home (RTH) is the feature you’ll thank most. Low battery, lost signal, or panic-button press: the drone climbs to a safe altitude and flies itself back to takeoff. Test it deliberately in an open field on day one — while calm — so you trust it before you need it. Check whether RTH avoids obstacles on the way back; basic versions fly straight, fine over fields, dangerous near trees.
Obstacle avoidance uses cameras and sensors to detect surroundings and stop or steer away — computer vision doing genuinely useful work. Entry drones may sense only downward or forward; better ones cover multiple directions. Treat it as a safety net, not autopilot: sensors miss thin branches, wires, and anything behind the drone. Still, every direction of sensing is one fewer way to crash.
Also worth having: propeller guards (cheap, massively reduce damage), a beginner mode limiting speed and range while you learn, and geofencing that warns near airports and restricted zones. None replace careful flying — but together they make the learning curve far more forgiving.
Size and Weight: The 250-Gram Line That Changes Everything
In most countries, 250 grams is the magic number for regulation. In the US, recreational drones weighing 250g or more must be registered with the FAA; sub-250g drones flown recreationally are exempt. The EU uses a similar threshold, with lighter drones facing fewer requirements. Manufacturers know this — there’s a whole class of drones engineered to land just under 250 grams, and it’s product strategy, not coincidence.
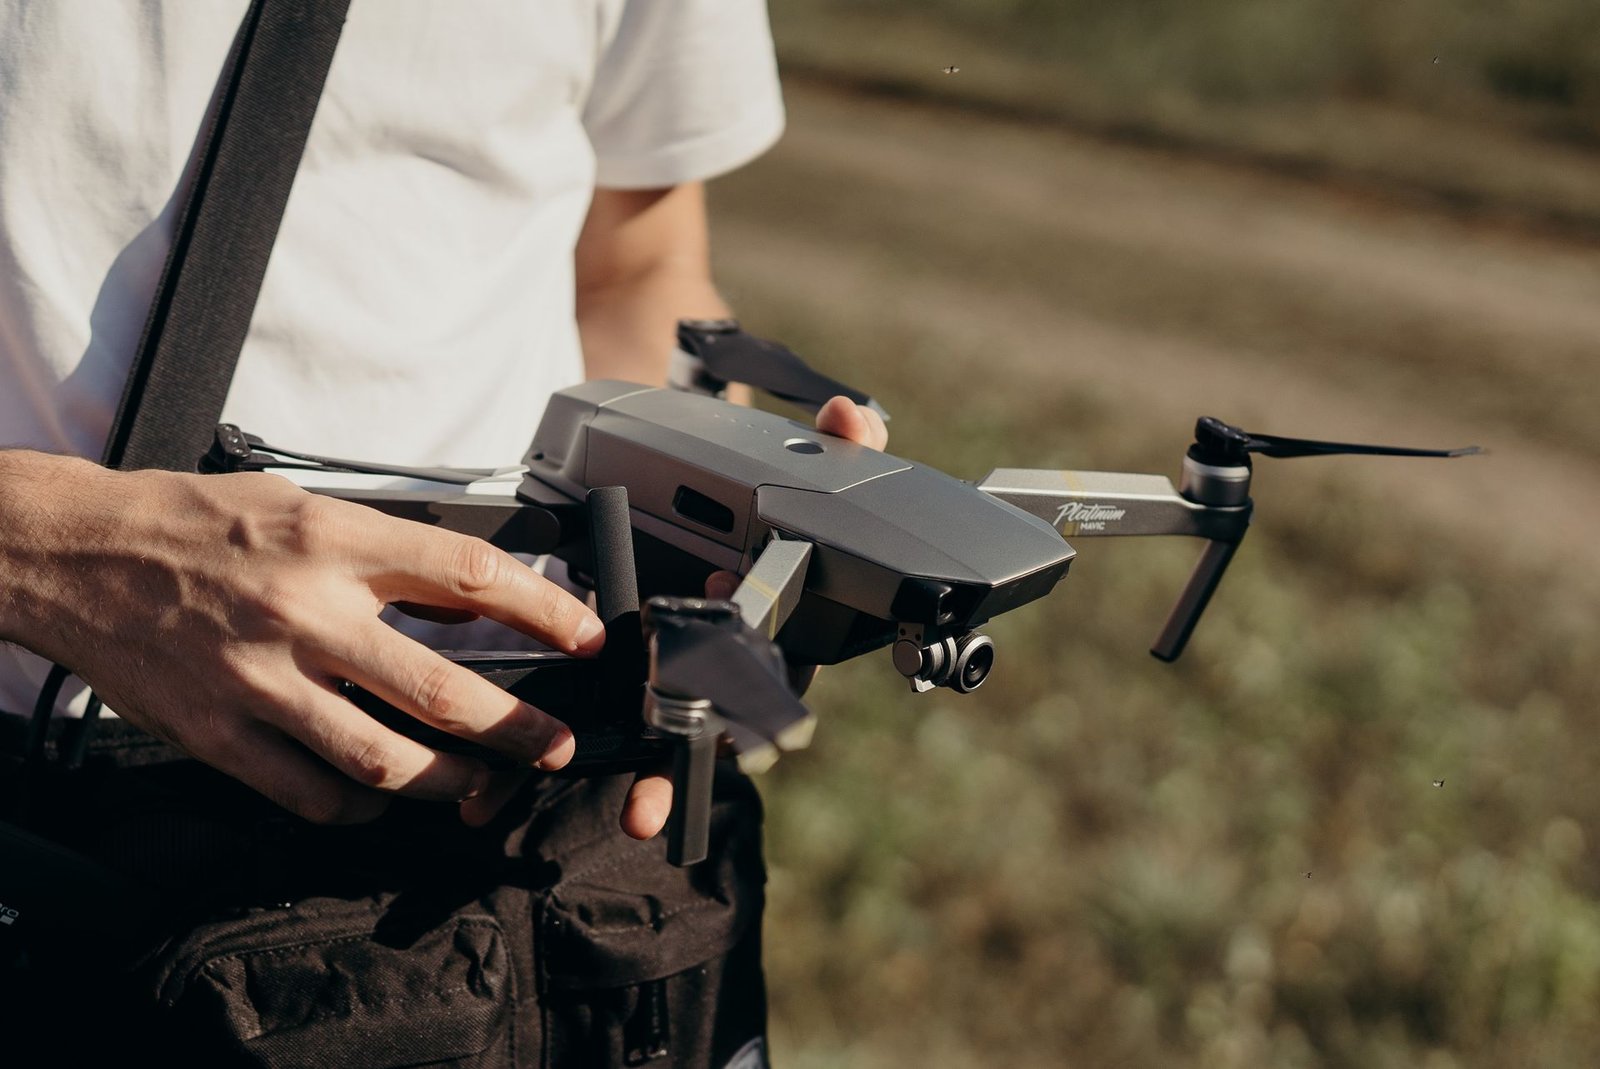
A sub-250g drone is the path of least resistance for anyone starting out: fewer regulatory hoops, easier travel, and generally a lower price tag. The trade-offs are real but manageable — lighter drones get pushed around in wind, carry smaller batteries, and house smaller sensors. For learning and casual use, usually worth it. Outgrow the category later and you’ll know exactly what you want in a bigger drone, while the small one becomes your travel machine.
Heavier drones aren’t worse — often better, with bigger sensors, longer flight times, and confident wind handling. They just come with paperwork: straightforward and inexpensive in most countries, but real responsibility. The trade-off is convenience and simplicity under 250 grams versus capability and paperwork above it. Most beginners are happier under the line.
Regardless of weight, check your country’s specific rules before buying — details vary and change. The next section covers the general landscape, but your aviation authority’s website is the final word, worth thirty minutes before your first flight.
Drone Laws and Registration: The Boring Part You Can’t Skip
Drones are aircraft in the eyes of the law, and the rules are real and enforced. Details vary by country, but recreational drone law looks similar across the US, UK, EU, Canada, and Australia. First: keep the drone within visual line of sight at all times. Second: stay below the altitude limit (400 feet / 120 meters in most jurisdictions). Third: never fly near airports, over crowds, over emergency operations, or in restricted airspace — check an official airspace map before flying anywhere new.
Registration is what beginners most often skip. In the US, the FAA requires recreational registration for drones 250g and up, plus the free TRUST safety test — about half an hour covering the basics. The UK requires operator registration for most camera drones regardless of weight; the EU registers the operator (not each drone) for most camera-equipped models. These aren’t suggestions; flying unregistered where required can mean serious fines.
Privacy deserves equal attention. A camera drone is a flying camera, and people can’t tell when they’re being filmed from the air. Don’t hover over neighbors’ property or film people unawares in private settings, and be extra careful around schools, beaches, and events. Many beautiful locations — national parks in several countries — ban drones entirely or require permits. Check before traveling with one.
Insurance is worth considering once your drone has real value. Some homeowner or renter policies cover drones; dedicated liability policies are inexpensive and cover the scenario everyone fears — your drone damaging property or injuring someone. Rarely legally required for recreational flying, but the peace of mind is cheap.
What a Beginner Should Expect to Spend
Drone pricing maps neatly to experience. Toy-grade drones under about a hundred dollars are fun for ten minutes and teach exactly one lesson: why stabilization and GPS matter. They lack both, drift constantly, break easily, and take photos you’ll never revisit. Fine as gifts for kids; not a path into the hobby.
The beginner sweet spot is the low-to-mid hundreds: GPS hovering, a gimbal-stabilized 4K camera, return-to-home, basic obstacle sensing, 20-plus minutes of flight time — everything in this guide. DJI leads this tier (its Mini series defined the sub-250g category); competitors like Autel are worth comparing. A fly-more bundle with extra batteries typically adds real value here.
Above that, mid-range camera drones add larger sensors, better wind handling, omnidirectional sensing, and advanced flight modes — worth it once you’ve outgrown the beginner tier and know which limitations bother you. Professional cinema drones cost several times more and are overkill for learning. Whatever tier you choose, budget 20–30 percent extra for accessories: spare batteries, a case, ND filters (the sunglasses of drone video), and propeller guards.
The used market is worth a look: drones depreciate, and a lightly used previous-generation model can be excellent value. Verify battery health (batteries degrade with age and cycles), check for crash damage, and confirm the seller transfers any tied accounts.
Drone Buying Guide for Beginners: The Pre-Flight Checklist
Before you buy, run this checklist — the condensed version of everything above. One: what’s your one-sentence use case, and does this drone’s category match? Two: above or below 250 grams, and are you ready for the registration requirements either way? Three: GPS hovering, return-to-home, and a real gimbal — the trio separating proper beginner drones from toys?
Four: how many batteries are included, and what’s the real flight time each? Five: does your phone run the companion app well? The controller usually mounts your phone as the screen — check compatibility with your exact model (our smartphone buying guide helps if you’re due for an upgrade). Six: have you checked your country’s registration, test, and airspace rules, and do you know where you can legally fly near home?
Seven: total cost including needed accessories — spare batteries, case, ND filters? Eight: is there a beginner mode, and does obstacle sensing cover forward and downward at minimum? Nine: what’s the warranty and crash-replacement policy? Some manufacturers offer refresh plans replacing a crashed drone for a modest fee — genuinely good value for beginners.
Answer all nine honestly and you’ll buy right the first time. This drone buying guide for beginners was never about selling you the most drone — it’s about matching machine to pilot. A beginner with the right drone and thirty minutes of rule-reading has more fun, shoots better footage, and crashes less than an expert with the wrong one.
Key Takeaways
- This drone buying guide for beginners starts with your use case: casual flying, aerial photography, travel, and FPV racing need genuinely different drones.
- Prioritize GPS hovering, return-to-home, a 3-axis gimbal, and obstacle sensing over headline specs like maximum range or zoom.
- The 250-gram threshold determines registration requirements in most countries — sub-250g drones mean less paperwork with modest capability trade-offs.
- Learn your country’s drone laws before the first flight: line of sight, altitude limits, no-fly zones, registration, and privacy rules all apply.
- Budget for the full kit — extra batteries, case, ND filters — and consider a fly-more bundle; one battery ends your session just as it’s getting fun.
- Back up your footage regularly; aerial shots are irreplaceable, and our 3-2-1 backup guide applies to drone libraries too.
Frequently Asked Questions
Do I need a license to fly a drone recreationally?
Recreational flying usually doesn’t need a pilot’s license, but it does need registration and safety knowledge. In the US, the FAA requires registration for drones 250g and up plus the free TRUST test; the UK and EU have their own operator registration systems. Commercial work (anything paid) requires certification everywhere. Check your aviation authority’s site — rules change.
What is the best drone for a complete beginner?
The best beginner drone has GPS-assisted hovering, return-to-home, a stabilized camera gimbal, and basic obstacle sensing — plus a beginner mode that limits speed while you learn. Sub-250-gram models from established brands are ideal first drones: they’re affordable, travel-friendly, and face the lightest regulation. Avoid toy-grade drones without GPS; they’re harder to fly and teach bad habits.
How long does it take to learn to fly a drone?
Basic competence — takeoff, hovering, simple movements, safe landing — takes a few hours in an open field. Smooth, cinematic flying takes weeks to months of regular practice. The curve is front-loaded: GPS drones are remarkably easy at first, then the ceiling rises with complex shots and wind. A simulator or beginner mode shortens the early phase.
Can I fly my drone anywhere?
No. Keep the drone within visual line of sight, below 400 ft / 120 m, and away from airports, crowds, emergencies, and restricted airspace. Many parks, reserves, and urban areas add restrictions or bans. Check an official airspace map before new locations, and get permission over private property.
What happens if my drone loses signal or the battery dies?
A proper beginner drone handles both: signal loss triggers return-to-home (the drone flies back and lands itself), and low battery triggers warnings followed by automatic return, then immediate landing if critical. Never ignore low-battery warnings or fly beyond line of sight — the safety systems assume a sane pilot.
Are more expensive drones actually easier to fly?
Up to a point, yes. The jump from toy to proper GPS drone is the biggest ease-of-flying upgrade in the hobby — stabilization and automation do the hard work. Beyond that, pricier drones add better cameras, sensors, and wind handling, not fundamentally easier flying. A mid-range drone is just more capable once your skills catch up.
Conclusion
The right first drone isn’t the most impressive one — it’s the one matching your goals, respecting the 250-gram line (or embracing the paperwork above it), and forgiving early mistakes with GPS hovering, return-to-home, and obstacle sensing. This drone buying guide for beginners boils down to: define your use case, prioritize safety features over headline specs, learn the rules before the first flight, and budget for batteries and accessories — not just the aircraft.
Do that, and your first month means calm practice sessions, steadily smoother footage, and a growing library of shots that make it worthwhile. Skip it, and you get the other version: a tree, a pond, or an awkward conversation with a neighbor. And if you’re still torn between two models after reading this, go with the simpler one — you can always upgrade once your skills demand it, but you can’t un-spend money on features you never touch. Read the rules, run the checklist, charge all three batteries — and go fly. The sky, within line of sight and under 400 feet, is yours.